News:

Welcome to the Golf Club Atlas Discussion Group!

Each user is approved by the Golf Club Atlas editorial staff. For any new inquiries, please contact us.


Grant Saunders

  • Total Karma: 0
Re: Harewood Golf Club, New Zealand - Photo Tour (15th hole posted)
« Reply #25 on: November 19, 2012, 03:38:04 AM »
Leo

I agree with your sentiments above.

You are right about the trees and hopefully more will continue to be removed over time. While not having a huge impact on playability, they do generate a somewhat cramped sensation when playing some of the holes. As you noted, number 1 is the least tree dominated hole and feels better for it. The club however must be commended for having bravely eliminated as many as they have to date as large scale tree removal projects arent something New Zealand golfers are known for being supportive of. There still exists the "you must be punished for missing the fairway" mindset and its a tough one to break down. One thing I suppose is the less than exciting surrounding features arent really worthy of opening up the vistas for. The port hills as you mention are one but with a couple of roads and the airport being nearby on a few holes, perhaps shielding them out isnt so bad.

As you say, this course has certainly being polarising amongst the local golfing community. I feel those that have been prepared to spend the time learning to understand the course and the philosophy have found a new appreciation of the game and how different challenges to what you are used to is a positive thing. Then there are the ones who have played it and will never do so again. The reception of the membership has been very good and I believe they have attracted some new members as a result. Also, the recent Charles tour event, gained the course some high praise from a number of NZ's top amateurs and pro's which should have some good flow on effects for the club.

Grant Saunders

  • Total Karma: 0
Re: Harewood Golf Club, New Zealand - Photo Tour (17th hole posted)
« Reply #26 on: November 19, 2012, 03:40:51 AM »
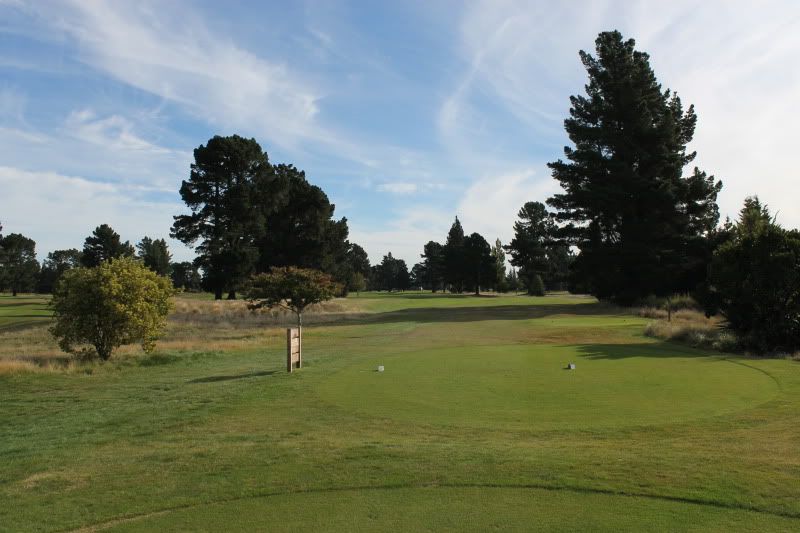
The 16th hole is a par 5 playing 441 metres. It comes as a welcome respite after a tough stretch of holes and combines with the 17th and 18th and an exciting combo to finish your round. Very much a half par hole, making 5 on here is achievable relatively easily if you play smart. Making a 4 is very much on the cards or even an eagle if you string together 3 good shots.

From the tee, a fairly straight forward fairway presents itself. The preferred line is to play down the left hand side and a better view of the green is the reward.


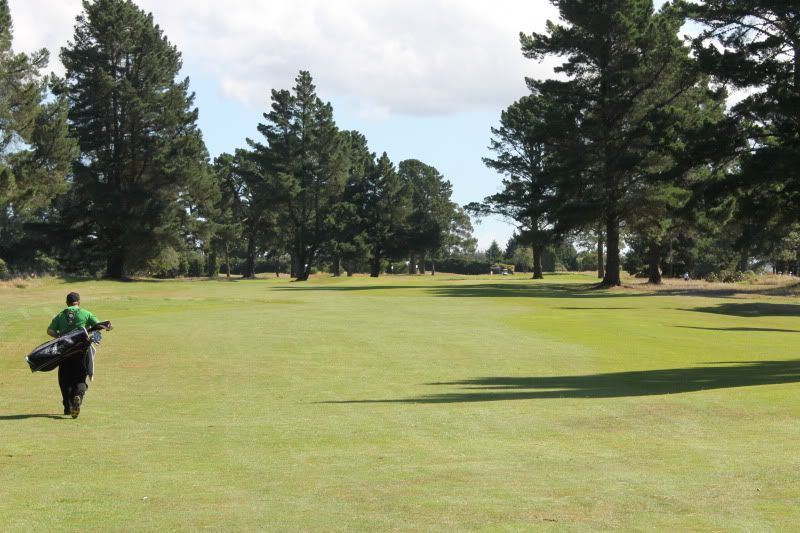
From the left hand side of the fairway, it is clear that a left to right shaped shot will be the most suitable. The pin location will greatly affect the shot trajectory required. A left hand pin is best attacked with a high soft ball flight and supporting contours at the back part of the green make an aggressive play most welcome. A right hand side pin will however require quite a different shot. A low running left to right shot will be needed to overcome the ridgeline running across the green at a front right to back left angle. Trying to fly over this ridge and stop your ball would be incredibly difficult, even with a short club. A small bunker sits front and centre of the green which must be factored in also.


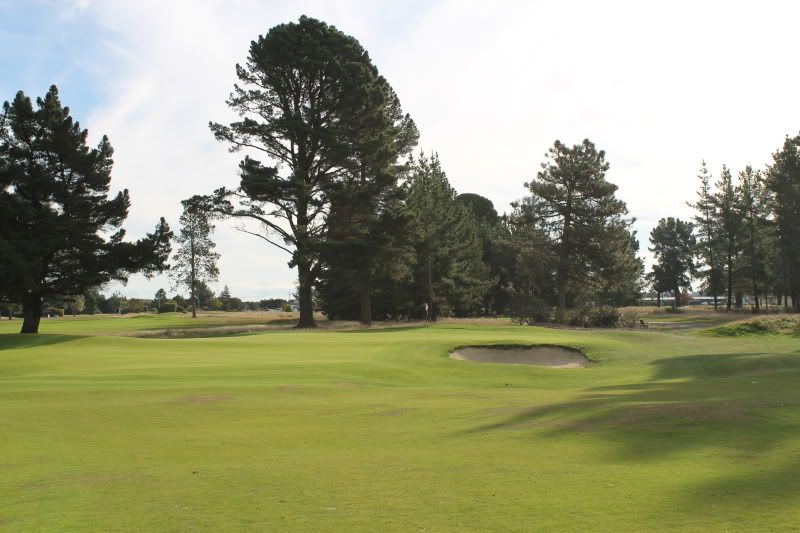
This photo shows the greens surface as approached from square on. It is difficult to make out, but the bottom of the flagstick is in fact hidden by the ridge running from the bunker to the back left. A good portion of the right hand putting surface is being obscured from view by the form the bunker sits into.  There is also a small shelf in the back centre of the green which offers a couple of hole locations as well.


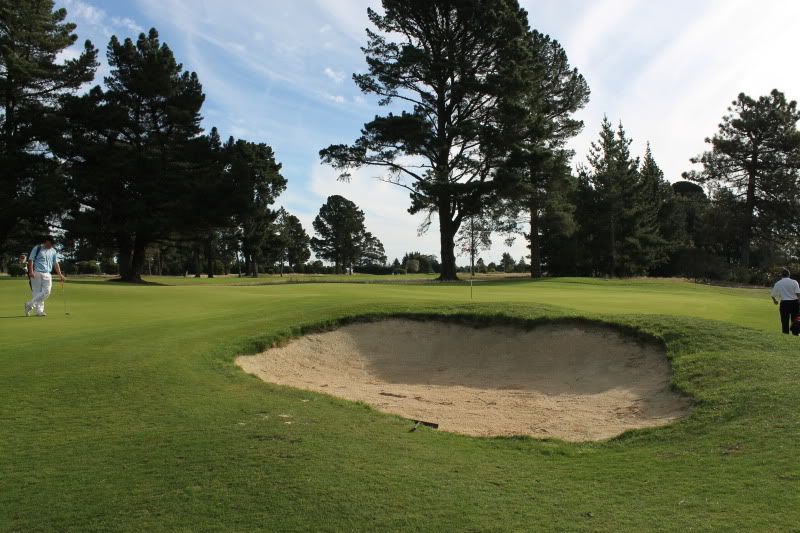
This closer view illustrates a false front on the right hand side and gives a better indication of the scale of the contours. The photos don’t really do this green and surrounds justice and it is for me one of the best complexes on the course.


The 17th hole is a par 4 of 362 metres. This dogleg left hole offers up a generous fairway area yet favours a shot down the left hand portion. Large trees looming down the left has the player inclined to play away from them but the result will be a second shot to an obscured putting surface. Par here is a most satisfactory result and bogies are very easy to come by.

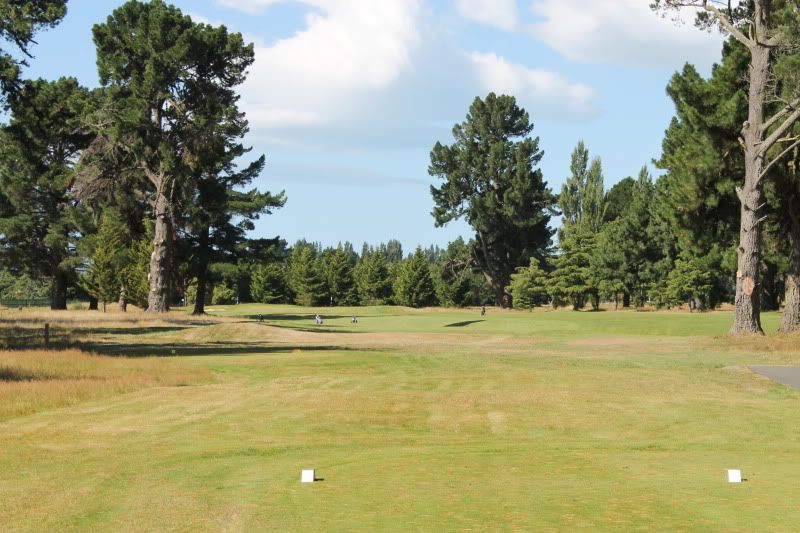
As seen from the tee, plenty of room to the right.


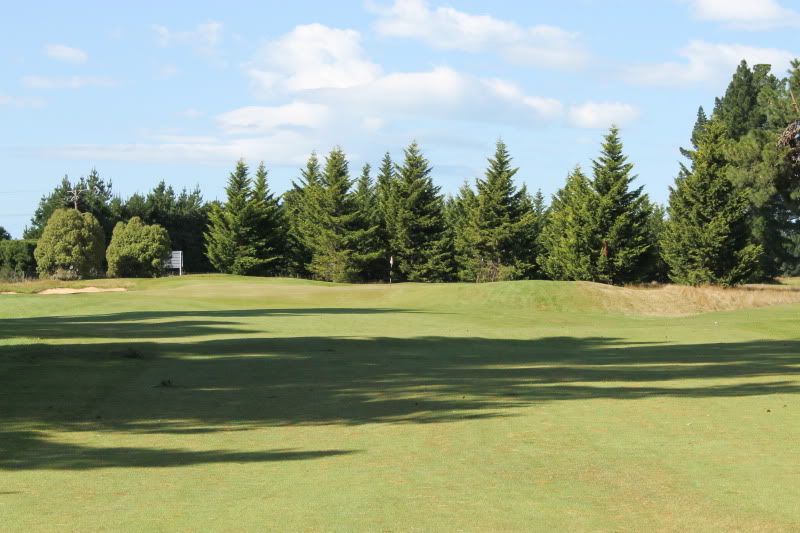
When the approached is viewed from the left hand side, it is easy to see the higher foreground on the right that hides the putting surface when you are out of position on the fairway. This is a feature that I feel creates more angst for a good player rather than having to fly a bunker and having a clear view of the surface.


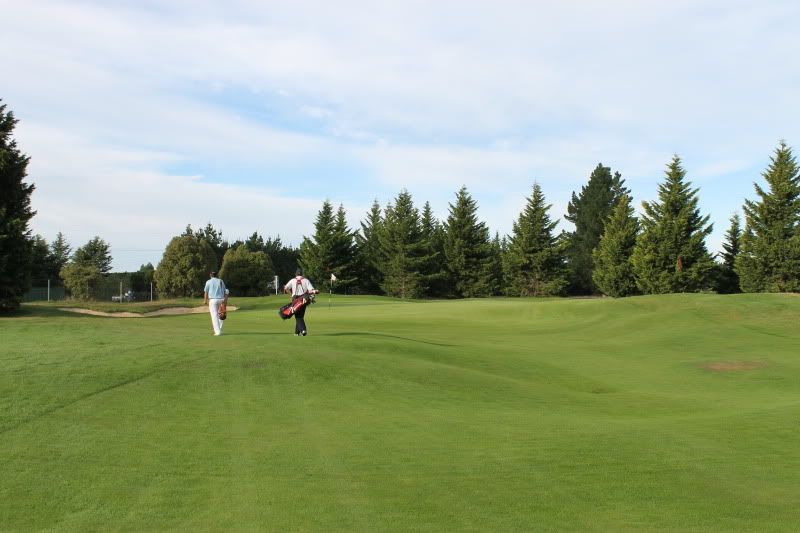
A false front adds further challenge to this approach as does the uneven fairway surface for those running the ball in. The back left bunker does not feature in play too often and is more to deter players away from the road on the other side of the fence.


Dane Hawker

  • Total Karma: 0
Re: Harewood Golf Club, New Zealand - Photo Tour (17th hole posted)
« Reply #27 on: November 19, 2012, 03:30:54 PM »
Im liking the long grass areas. Was it seeded or always there? is it mostly browntop?

Grant Saunders

  • Total Karma: 0
Re: Harewood Golf Club, New Zealand - Photo Tour Now Complete
« Reply #28 on: December 01, 2012, 10:27:48 PM »
The closing hole at Harewood is a par 5 measuring 495 metres. This hole is the third par 5 in the final 5 holes which sounds unusual yet plays very well. In no way does the sequence impact the overall feel of the round. This hole offers the player the opportunity to finish with a birdie or eagle and would make for an excellent penultimate hole in a stroke or matchplay event.

From the tee there is plenty of width and encouragement to finish your round boldly. The temptation is to try and play down the left as the hole doglegs in this direction. While this may shorten the hole slightly, it creates some issues as the hole progresses.


From the landing area (about centre of the fairway in this picture) the player is able to see 2 bunkers which must be negotiated with the second shot. In this picture, you can see the far left side of the green to the left of the first bunker. The left hand bunker is easily carried but it does hide a large depression short of the green.


This photo is taken from further left but nicely highlights the way the 2 bunkers visually interact with each other.


If you choose to lay up, this is the shot you are left with. It can be clearly seen here the distance that does in fact exist between the bunkers. This is very hard to discern from back down the fairway and even when you are aware of it.


This photo from the front of the green shows the depression that is hidden from view by the left hand bunker. Not the worst place to be but it is a testing up and down from in there.


This picture from the front right of the green gives a good view of the contouring. The green sits on a front right to back left angle and features a large “thumbprint’ in the front which extends into the fronting hollow. It is a fairly shallow green and a hollow exists over he back to capture aggressive shots.


Grant Saunders

  • Total Karma: 0
Re: Harewood Golf Club, New Zealand - Photo Tour (17th hole posted)
« Reply #29 on: December 01, 2012, 10:32:30 PM »
Im liking the long grass areas. Was it seeded or always there? is it mostly browntop?

Dane

It is predominantly Browntop and for the most part pre existing. The brown seedhead generates a fantastic texture and colour contrast that for me visually can be more appealling than fescue. It also seems in NZ that it is generally less dense than most of the fescues I have seen.