I'll repost something I did for the last sketchup thread. I edited it very little, and it probably duplicates some of what is on the video tutorial, but for convenience, here it is.
Stamp Tool for Tees
Select the stamp tool (Ive undocked the sandbox tools palette to keep the images smaller). Then hover over the tee box image as shown below. Then single-click the image. A red outline should appear around the face of your tee-box. The amount of offset is shown in the lower-right corner of the window.
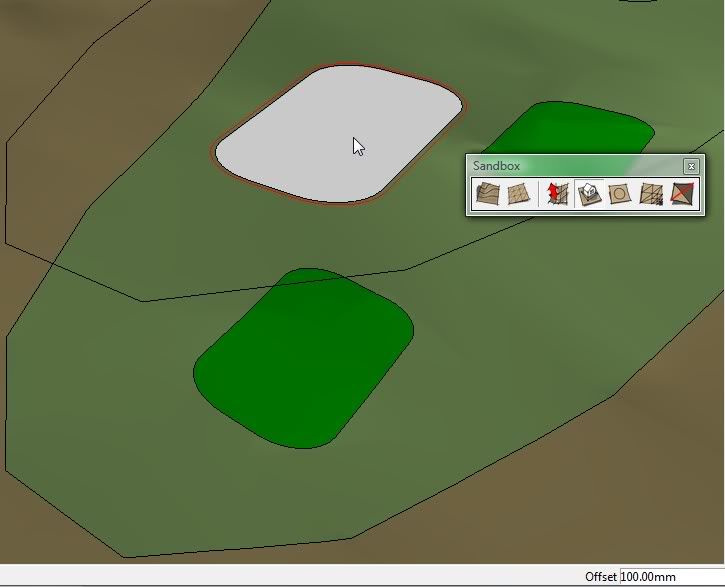
In this case it is 100 which is probably too little considering how high up Ill need to raise it to make sure its flat and above grade. Too little offset would leave the sides of the teebox too steep. So Ill just type 1000 and hit enter without ever moving the mouse. Youll notice the red offset line has expanded and the new value is displayed in the lower-right.
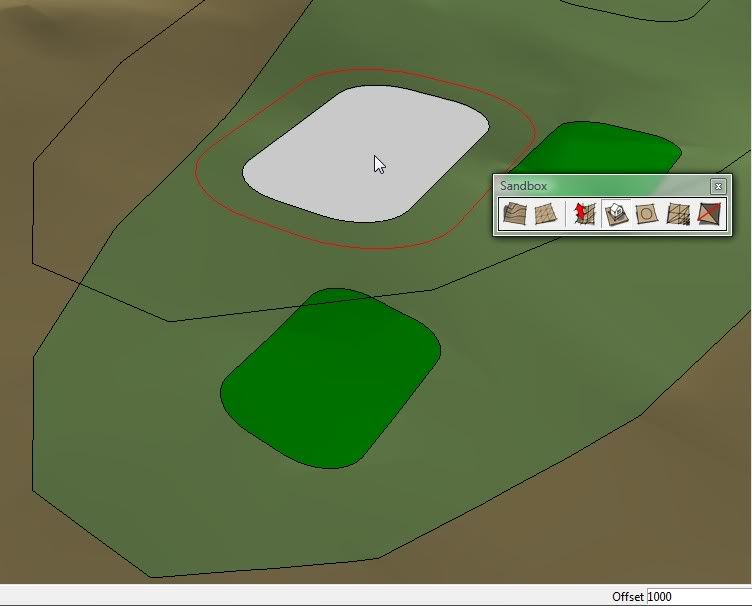
Now click on the surface and wait. Once the calculations are complete, youll see something like below.
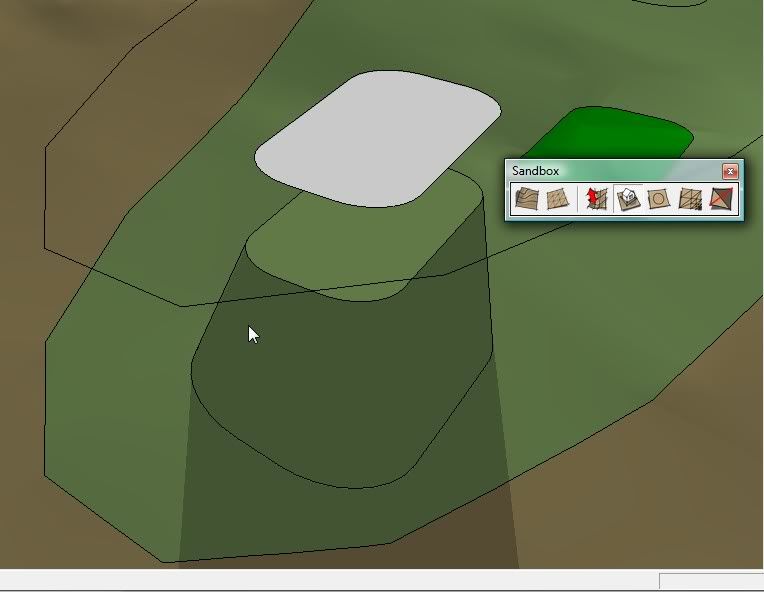
Now you need to choose the vertical offset, drag up and down until it looks right to you.
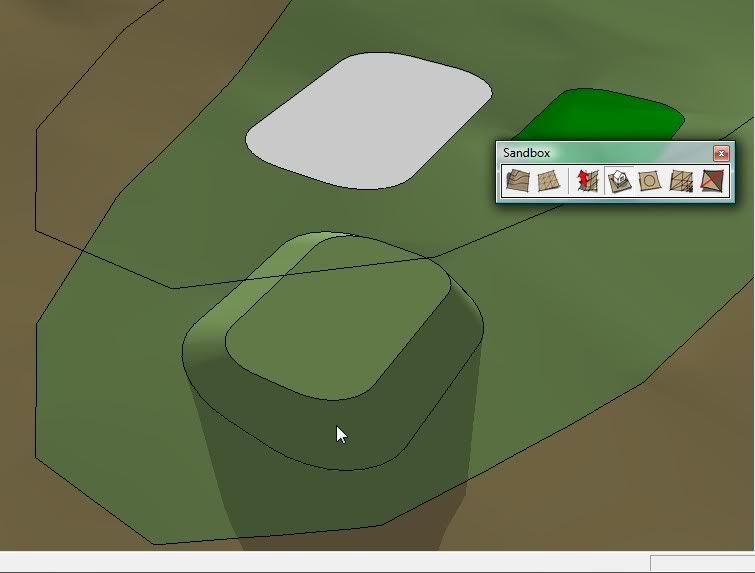
Now Ill zoom in and rotate/pan to show a better view (below).
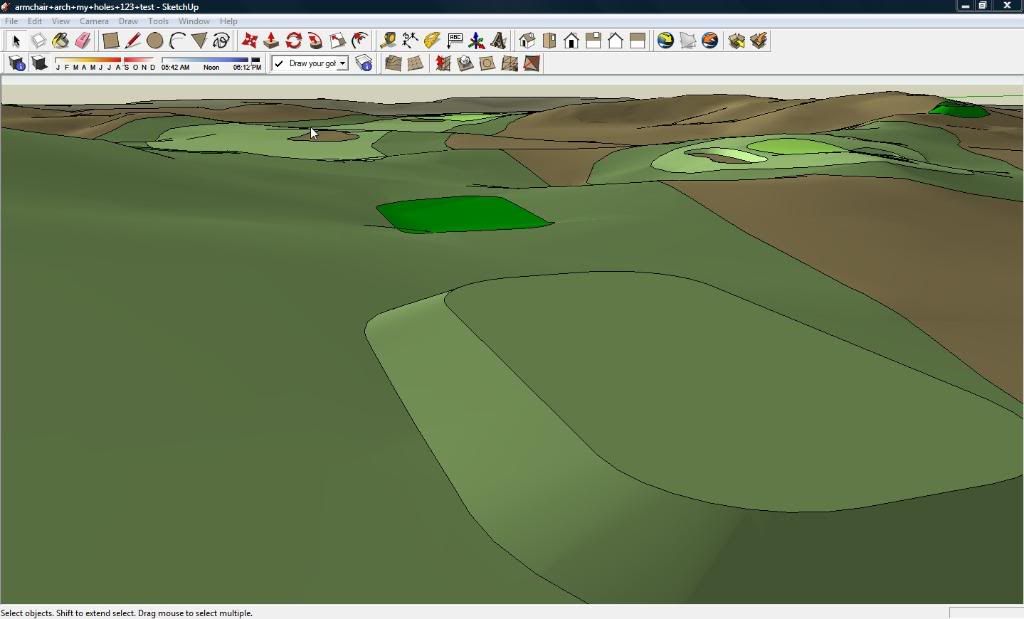
See the difference between this teebox and the next one up? One thing that does happen when youve already applied color to you project is that sketchup will screw it up. But you just fix this by doing what you did the first time. Also, the original teebox color is now on the reverse face, down underneath.
Ill continue on in the next post, but you can use this same technique for bunkers, just offset down vertically instead of up.
Stamp Tool for Bunkers
Okay, a short follow-up to the previous for tees. For bunkers the process is the same up until here. So after choosing the Stamp tool and clicking on the bunker shape you should get a view like before (shown below).
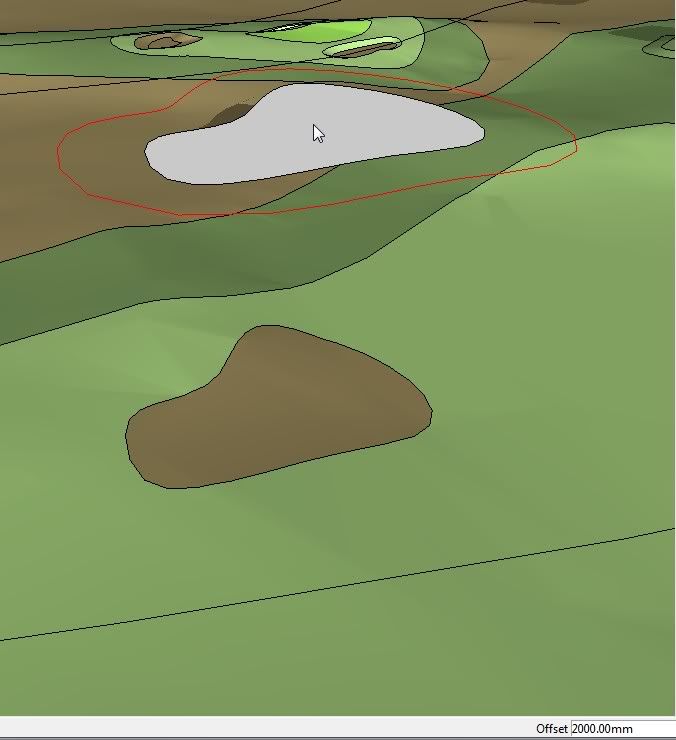
Now this time type in 0 (zero) instead and hit enter. You should get an image like below.
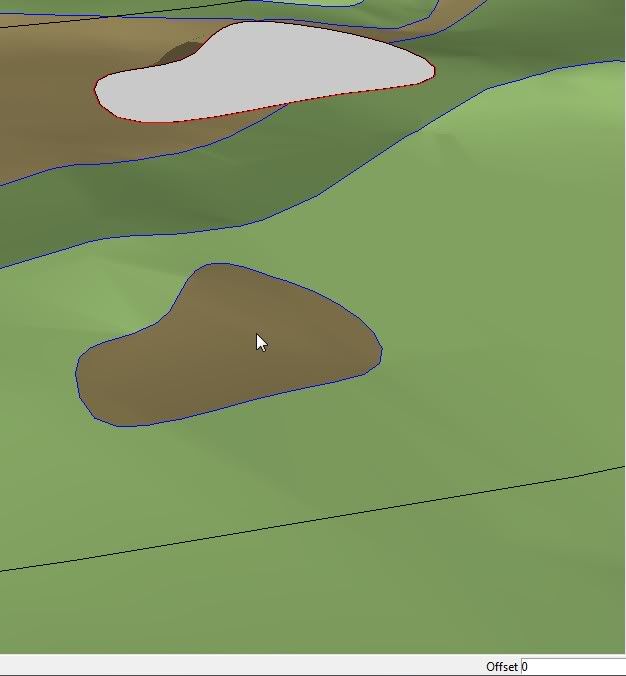
Then, like before, click on the surface of the ground and wait for it to process. Then you should see something like this:
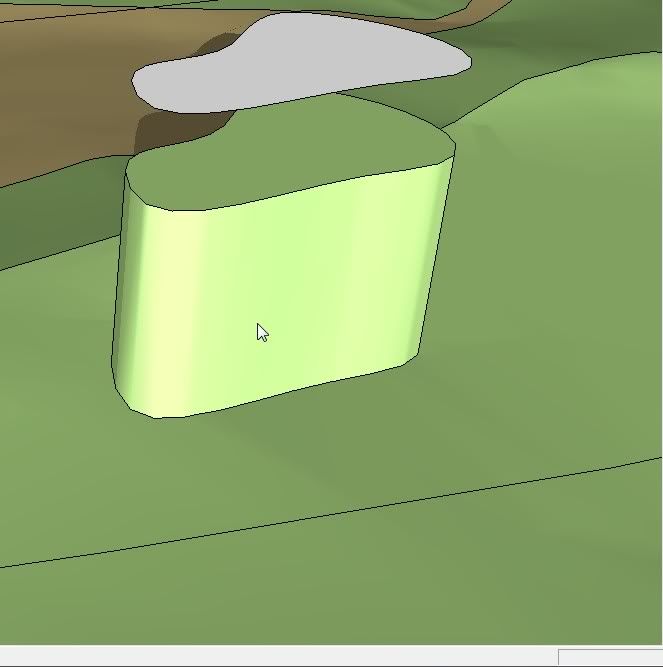
This time, drag downward until you are at the depth you would like for your bunker, then click again. Then right click on the ground and click edit group.
Next click on the floor of the bunker and choose the scale tool it should look like the image below.
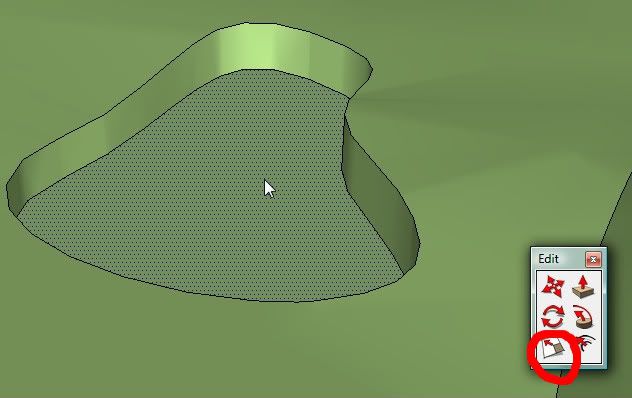
Since the face youve chosen is below the surface, the bounding box is not visible, so you must orbit down underneath to edit it as shown below.
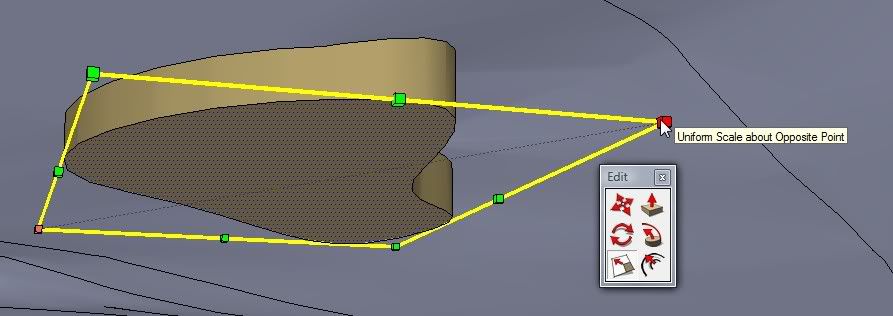
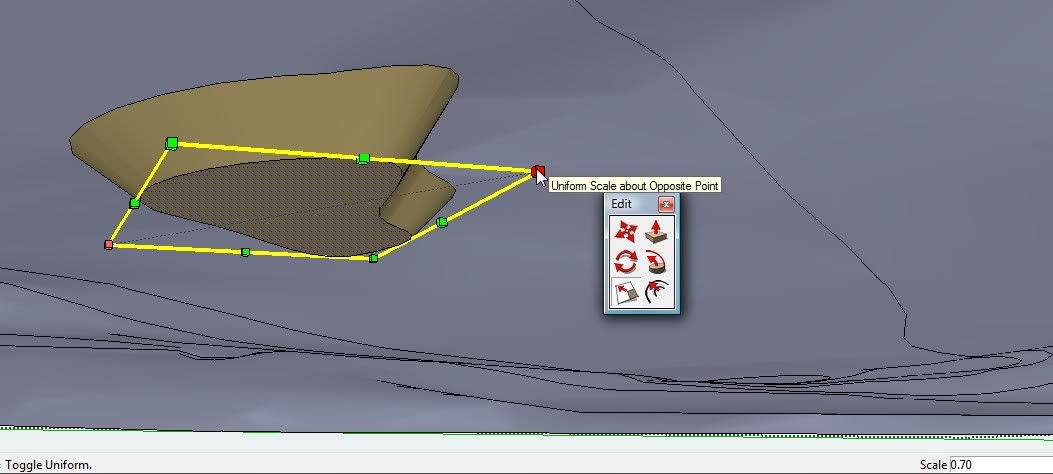
Youll probably want to scale it down, because bunkers usually curve down in to a flatter bottom. You can uniform scale toward the opposite point by clicking and dragging, you can uniform scale about the center point by holding the control button while dragging, or you can free scale by holding the shift key. You should end up with something like the image below:
If you want to change the angle of the bunker floor, you can select it and then use the rotate tool as I have done below:
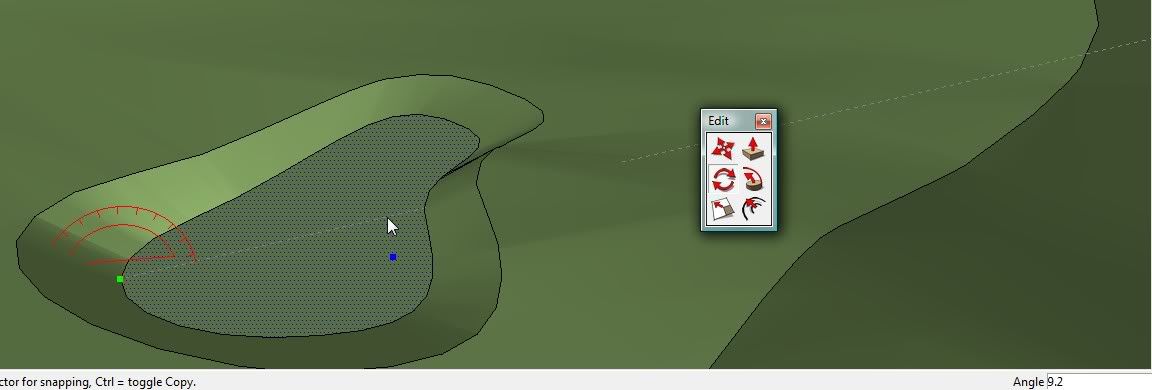
Then you just need to apply the colors you want and then make all the standard display changes.