Here are some photos of Windermere that hopefully fill in some of the spots missed by Ed. Unfortunately the quality of the photographs is not to Ed's high standards.
Looking back down the first fairway.
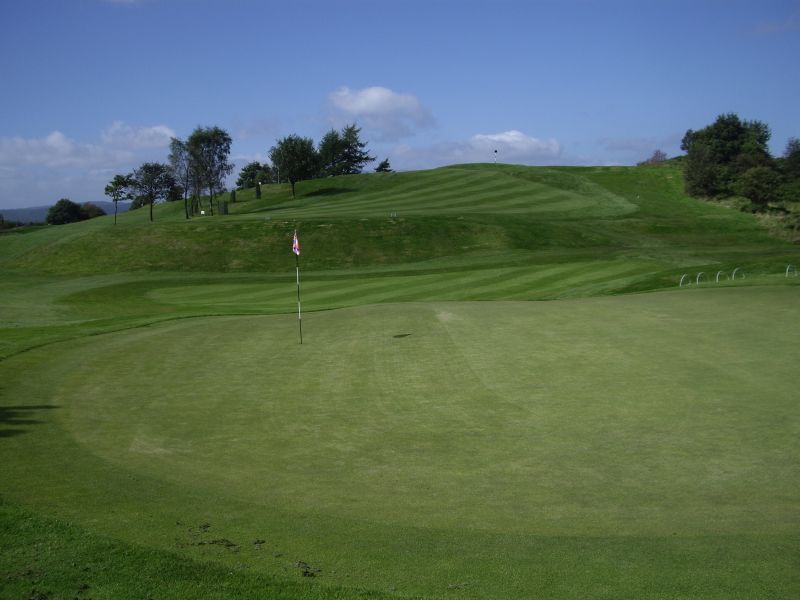
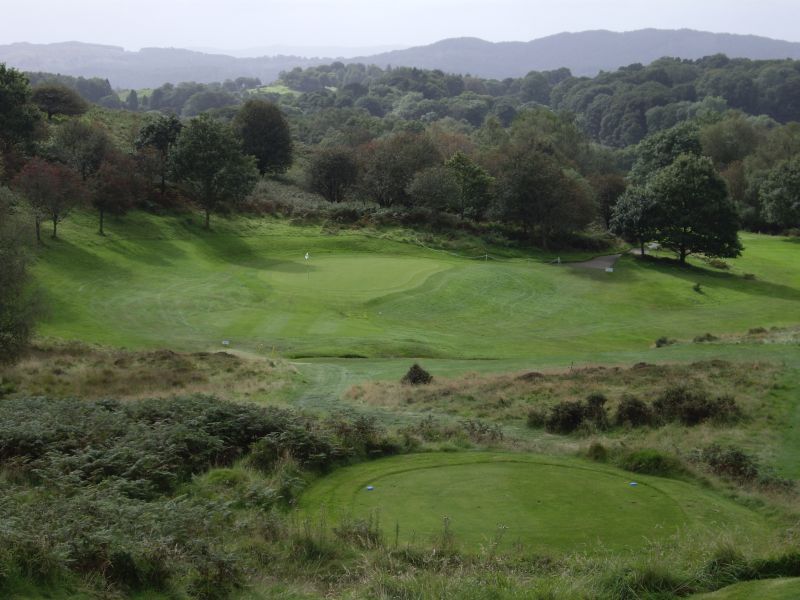
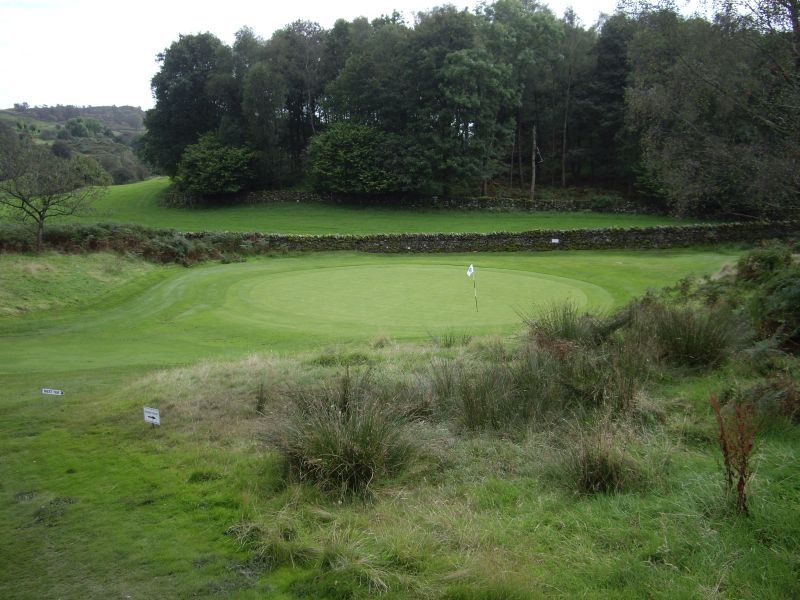
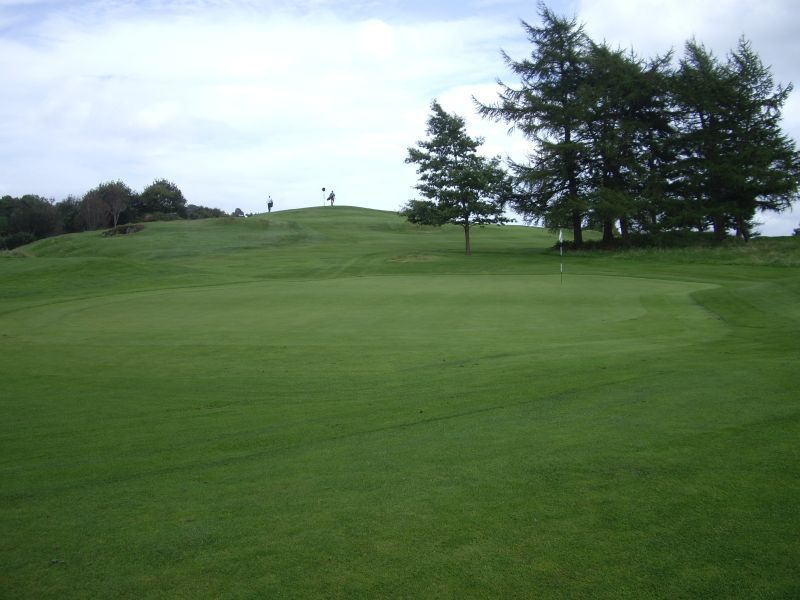
View from behind the second green.
A view of the third hole; the tee is up by the wall.
Second shot to number 5.
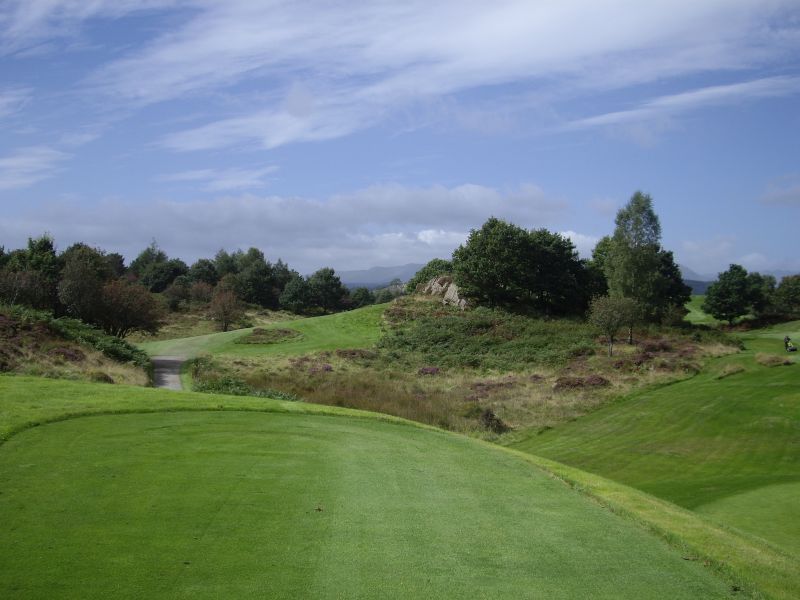
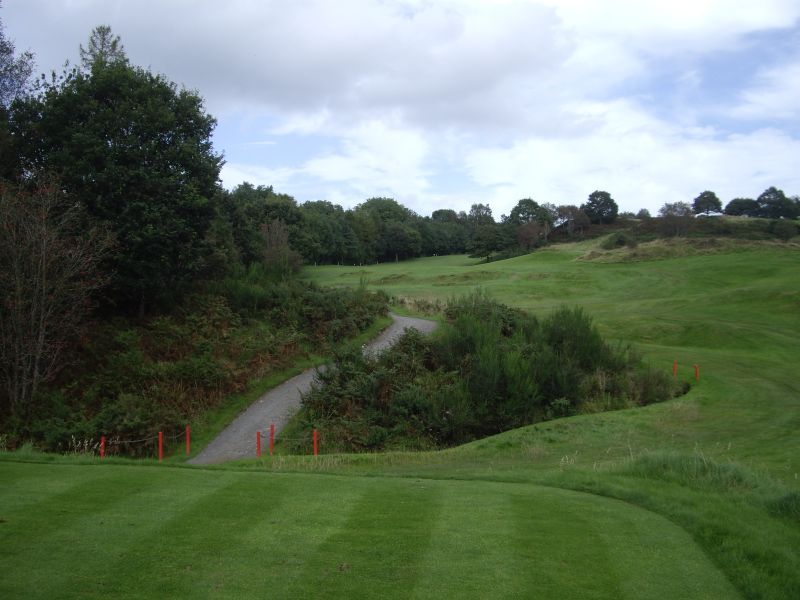
The intimidating drive at the 6th.
The par three 8th.
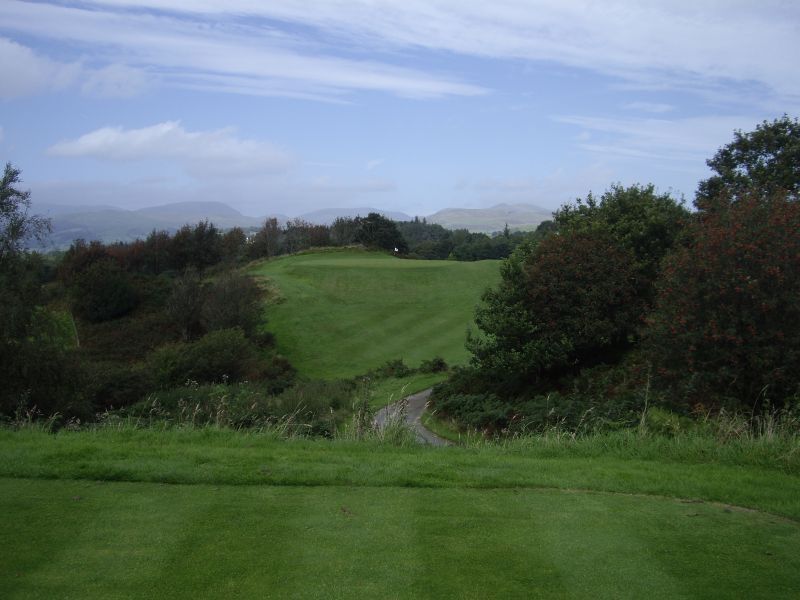
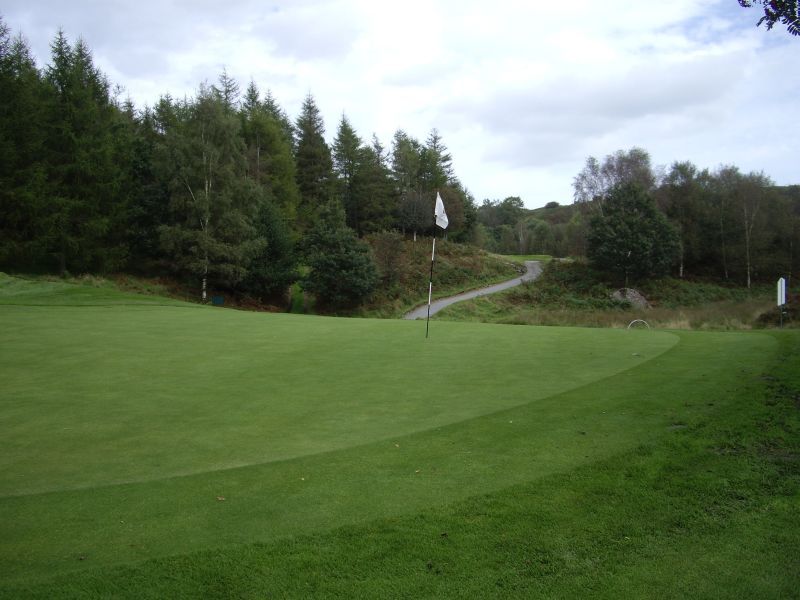
The dramatic par three 10th.

Hole 10: The tee is up by the marquee.
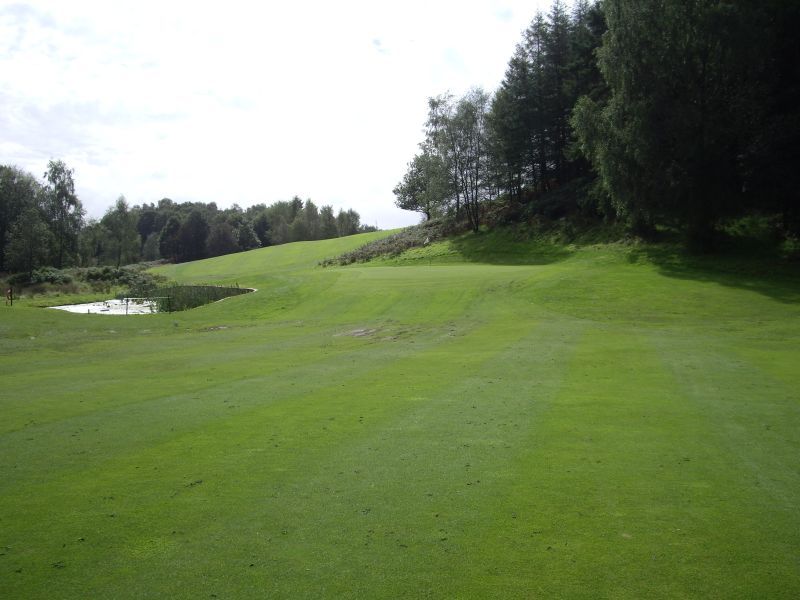
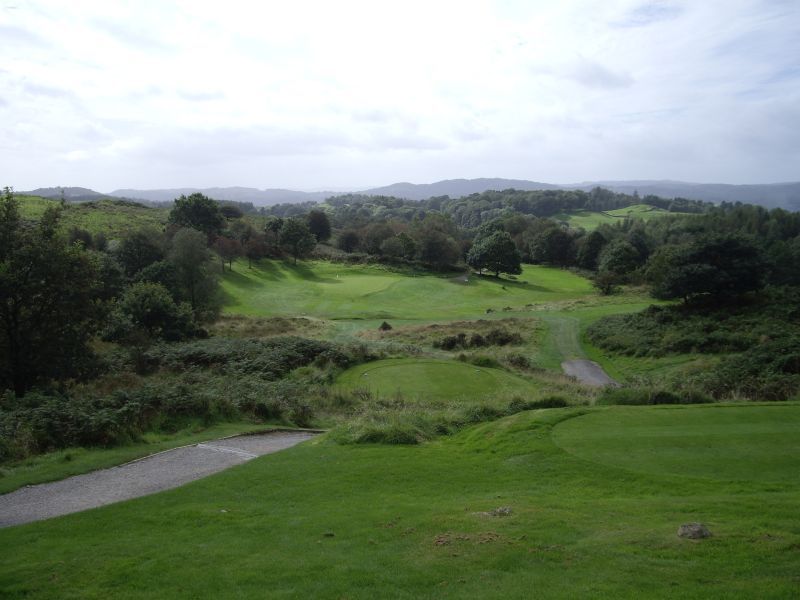
The approach to the 12th after a big drive.
Looking back along hole 12. The tee is way up the hill and into the right behind the trees.
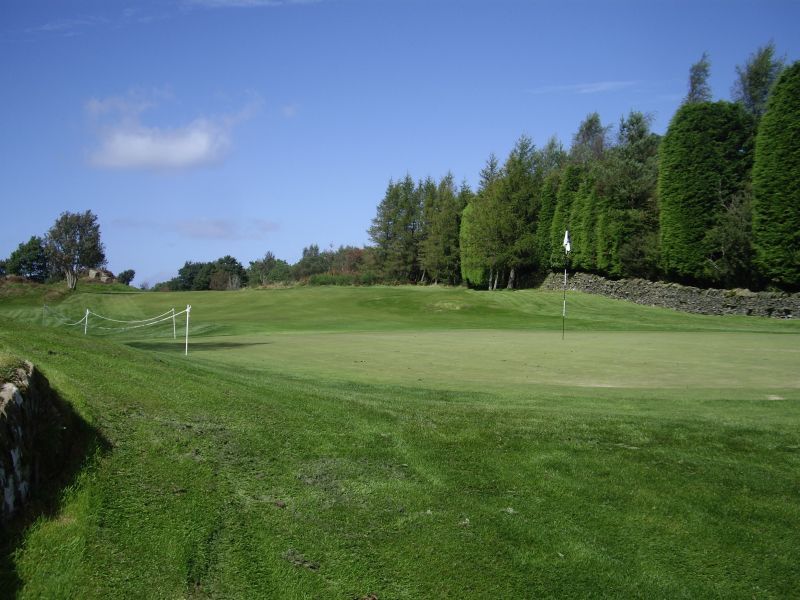
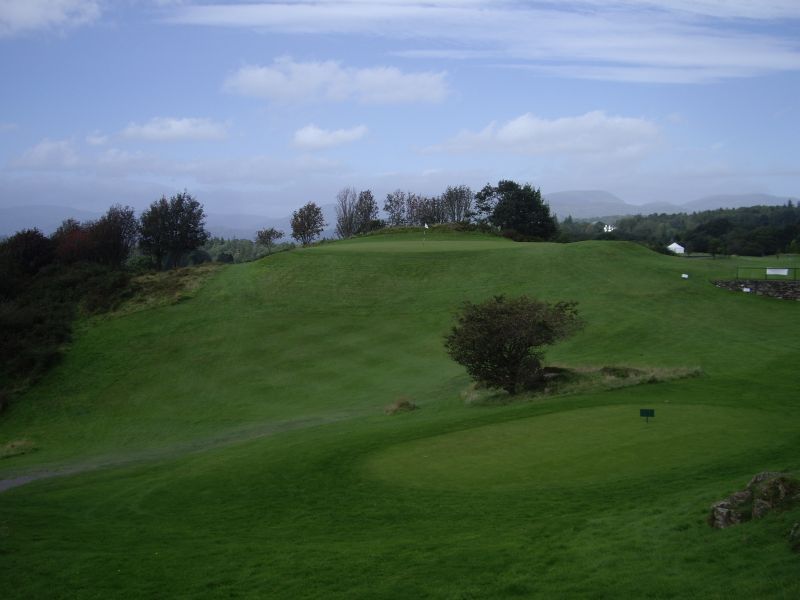
The short pitch shot to the 13th green.
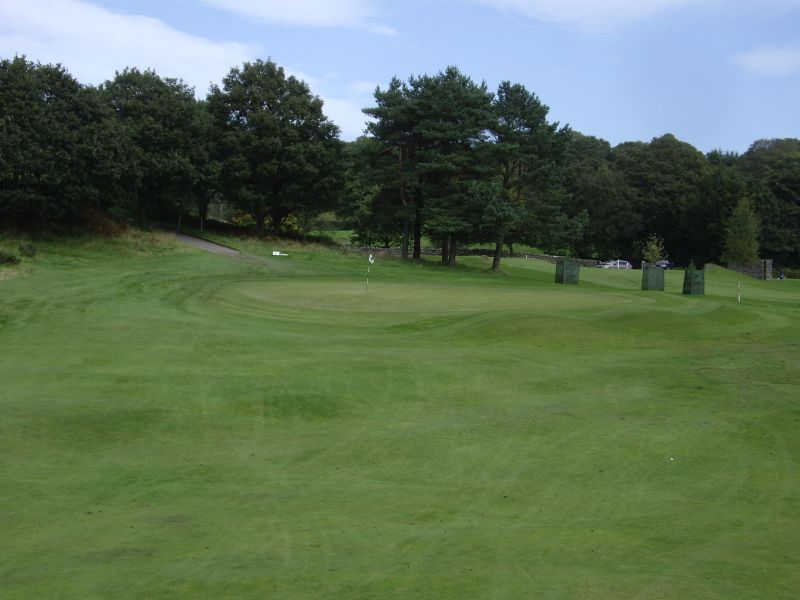
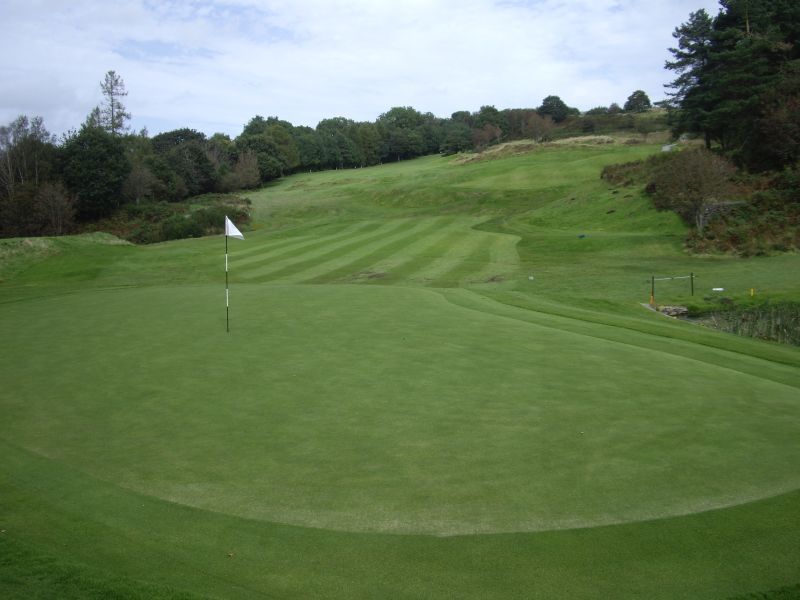
A view of the 13th green from the following tee.
Looking back towards the tee on the short par three 14th.
The difficult drive at the 17th.
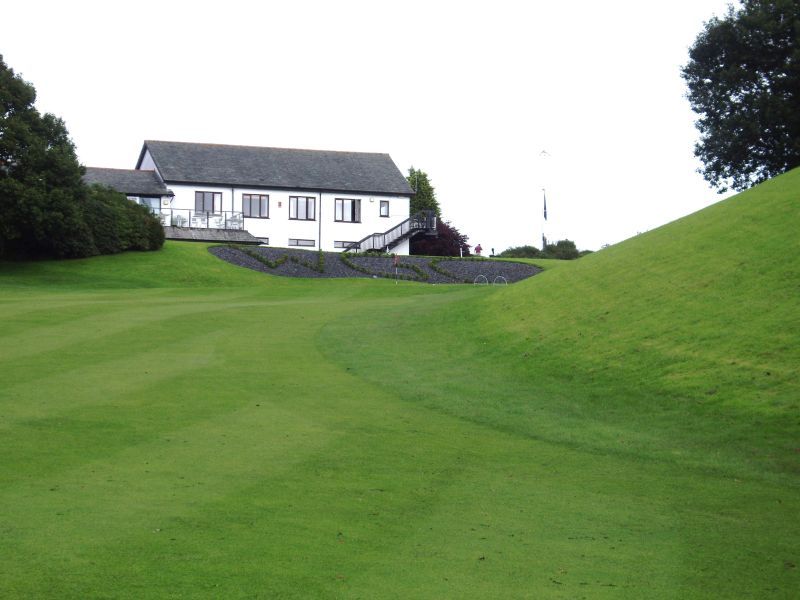
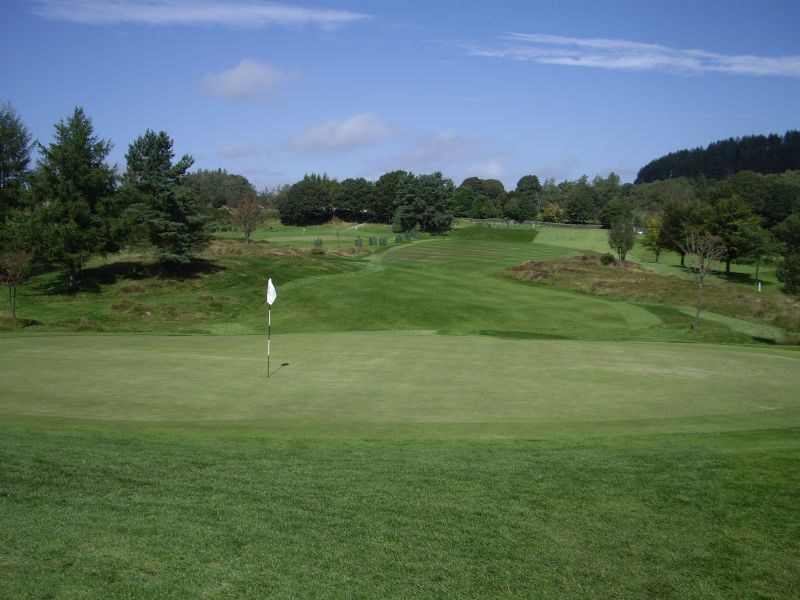
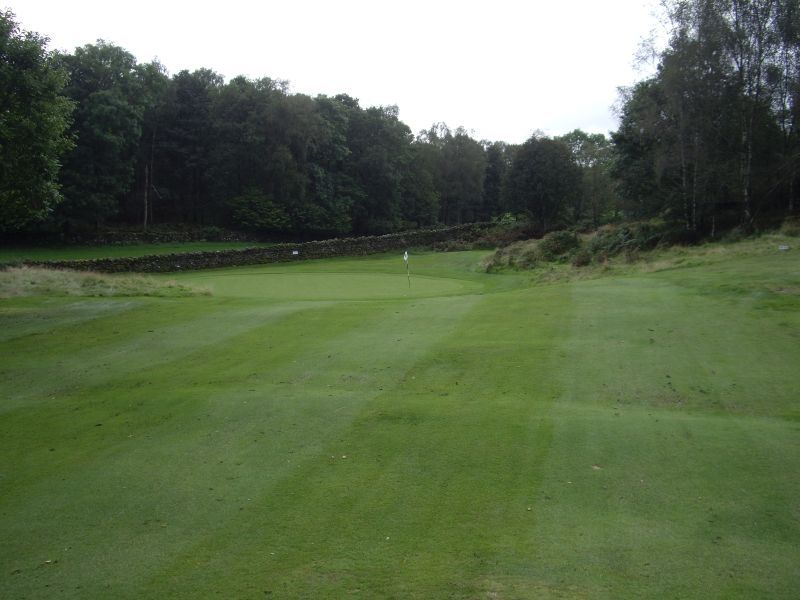
The uphill approach to the 17th green.
Ed's photo of the tee shot at 18 looks daunting, but thankfully the green is one of the largest on the course.